These are instructions on how to fix a locked iTunes Library file which prevents iTunes from loading.
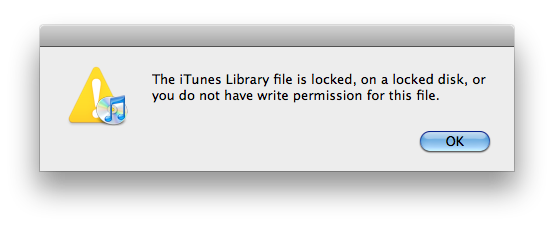
For one reason or another you may be shown a message on iTunes launch that reads like this, "The iTunes Library file is locked, on a locked disk, or you do not have write permission for this file".


There are several possible fixes for this error. Below we outline the simplest solution which works in most cases.
Step One
Launch Finder by clicking its icon in the dock.


Step Two
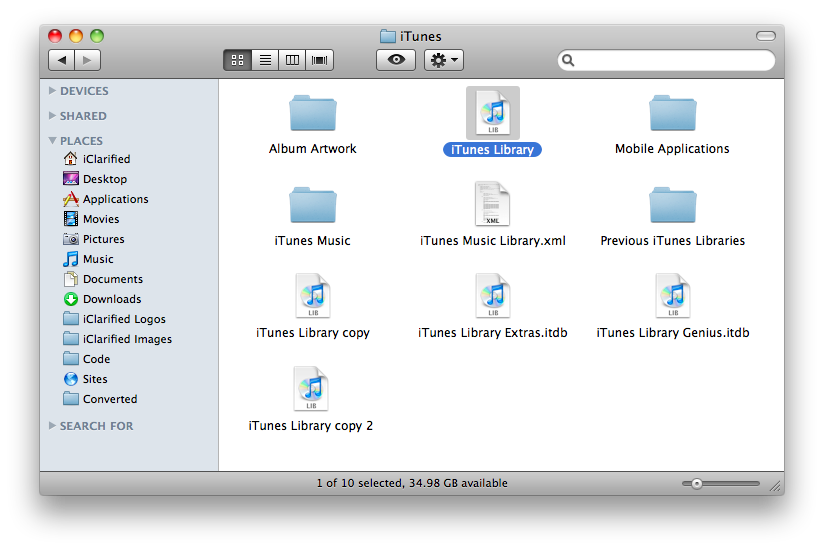
Select Music from the list of PLACES on the left side of the Finder window then double click the iTunes folder.


Step Three
Locate the iTunes Library file and drag it to your desktop.
Step Four
Launch the iTunes application by clicking its icon in the dock.
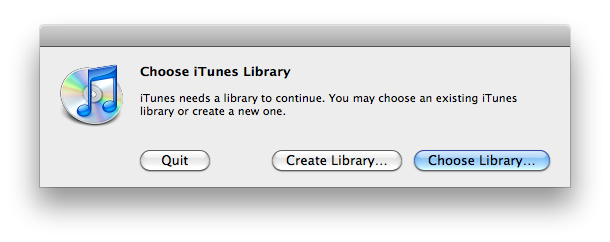
Notice that your iTunes Library will be empty. Next, quit the application by pressing the Command+q keys.
Step Five
Drag the iTunes Library file from the Desktop back to the iTunes folder you original took it from.
You will be informed that an item already exists in this location. Click the Replace button to continue.
Step Six
You can now launch iTunes as normal without receiving a locked library message.
For one reason or another you may be shown a message on iTunes launch that reads like this, "The iTunes Library file is locked, on a locked disk, or you do not have write permission for this file".


There are several possible fixes for this error. Below we outline the simplest solution which works in most cases.
Step One
Launch Finder by clicking its icon in the dock.


Step Two
Select Music from the list of PLACES on the left side of the Finder window then double click the iTunes folder.


Step Three
Locate the iTunes Library file and drag it to your desktop.
Step Four
Launch the iTunes application by clicking its icon in the dock.
Notice that your iTunes Library will be empty. Next, quit the application by pressing the Command+q keys.
Step Five
Drag the iTunes Library file from the Desktop back to the iTunes folder you original took it from.
You will be informed that an item already exists in this location. Click the Replace button to continue.
Step Six
You can now launch iTunes as normal without receiving a locked library message.

