These are instructions on how to deauthorize iTunes on a computer you no longer have access to.
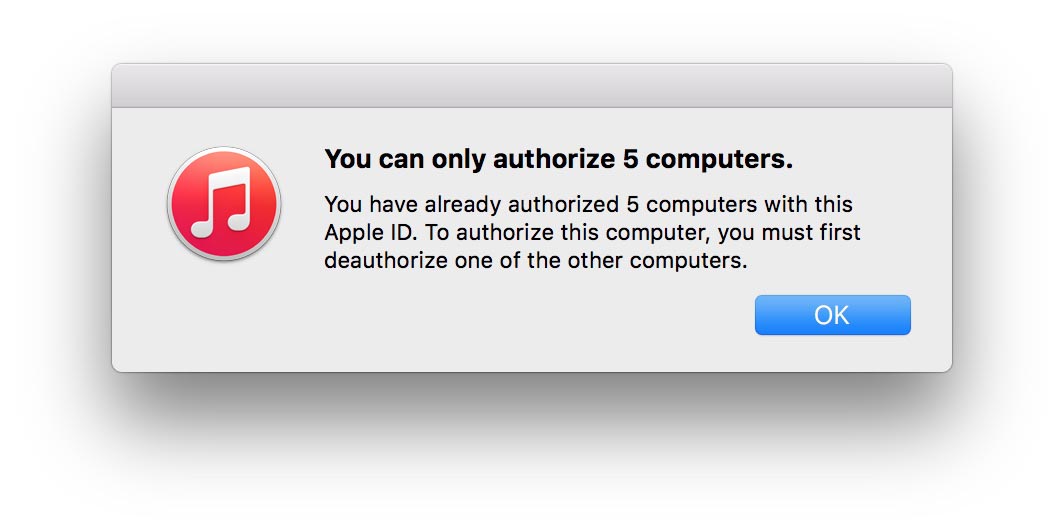
Apple allows you to authorize iTunes on up to five desktop devices. Eventually you may hit this limit and need to deauthorize one of them.


Unfortunately, you can't deauthorize an individual computer if you no longer have access to it; however, you can deauthorize all the computers tied to your Apple ID and start fresh.
Here's how...
Step One
Launch iTunes from your Dock.


Step Two
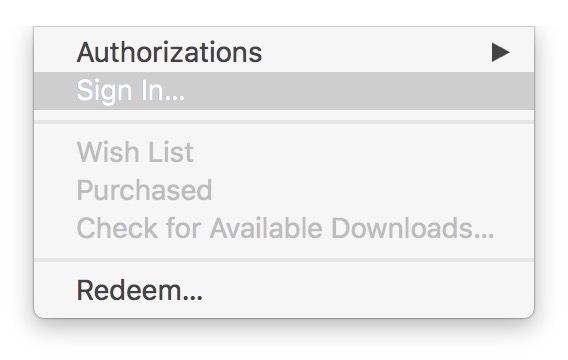
If you are not already signed in, select Sign In... from the Account menu.


Enter your Apple ID and password then click the Sign In button.


Step Three
Choose View My Account... from the Account menu.
Step Four
Click the Deauthorize All button under your Apple ID Summary.
Choose Deauthorize All from the confirmation popup that appears.
Step Five
You'll be notified once the deauthorizations are complete. Click the OK button.
Step Six
You may now want to authorize the desktop device you're currently using. To do so, open the Account menu and choose Authorize This Computer... from the Authorizations submenu.
Step Seven
Enter your Apple ID and password the click the Authorize button.
Step Eight
Apple will inform you that your computer has been authorized successfully.
Please follow iClarified on Twitter, Facebook, or RSS for more Apple news, videos, and tutorials.
Apple allows you to authorize iTunes on up to five desktop devices. Eventually you may hit this limit and need to deauthorize one of them.


Unfortunately, you can't deauthorize an individual computer if you no longer have access to it; however, you can deauthorize all the computers tied to your Apple ID and start fresh.
Here's how...
Step One
Launch iTunes from your Dock.


Step Two
If you are not already signed in, select Sign In... from the Account menu.


Enter your Apple ID and password then click the Sign In button.


Step Three
Choose View My Account... from the Account menu.
Step Four
Click the Deauthorize All button under your Apple ID Summary.
Choose Deauthorize All from the confirmation popup that appears.
Step Five
You'll be notified once the deauthorizations are complete. Click the OK button.
Step Six
You may now want to authorize the desktop device you're currently using. To do so, open the Account menu and choose Authorize This Computer... from the Authorizations submenu.
Step Seven
Enter your Apple ID and password the click the Authorize button.
Step Eight
Apple will inform you that your computer has been authorized successfully.
Please follow iClarified on Twitter, Facebook, or RSS for more Apple news, videos, and tutorials.

