These are instructions on how to install macOS on a new hard drive without a USB install key or install CD. You will need a Wi-Fi connection in order to proceed.
Step One
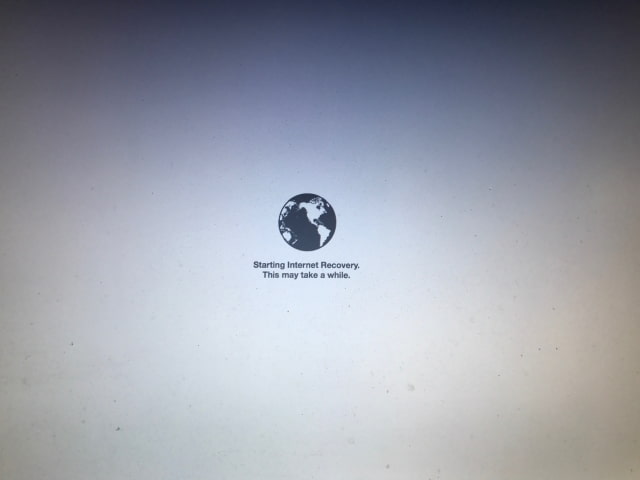
One you've installed your new new hard drive, power on your Mac and immediately press and hold Command+Option+R until your device begins booting into Internet Recovery.


Step Two
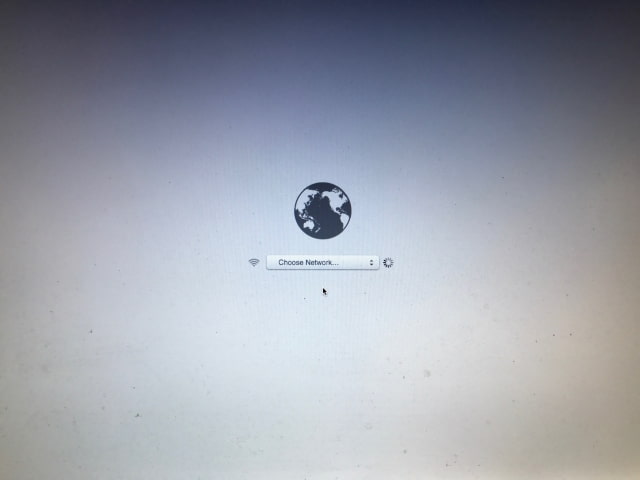
When prompted, select your Wi-Fi network from the list of available networks and enter its access password.


Step Three
Choose Disk Utility from the Mac OS X Utilities screen.
Step Four
Select your new drive from the list of devices on the left.
Step Five
Choose the number of partitions you'd like for the device from the Partition layout dropdown, name the partition, and ensure its format is Mac OS Extended (Journaled). We'll create '1 Partition' with the name Macintosh SSD.
Step Six
Click the Options button and make sure GUID Partition Table is selected then click the OK button.
Step Seven
Click the Apply button then click the Partition button to confirm you want to partition the drive.
Step Eight
Select Quit Disk Utility from the Disk Utility menu at the top left corner of the display.
Step Nine
Choose Reinstall Mac OS X from the Mac OS X Utilities menu.
Step Ten
Click Continue to launch the installation wizard.
You'll be notified that Apple will verify your eligibility to download and restore Mac OS X. Click Continue.
Step Eleven
Agree to the software licensing agreement.
Step Twelve
Select your new hard drive and click Install.
Step Thirteen
Your computer will now download Mac OS X and install it. Note that only the version of OS X your computer shipped with will be installed at this time. To get to the latest version of macOS you will update using the Mac App Store.
Step One
One you've installed your new new hard drive, power on your Mac and immediately press and hold Command+Option+R until your device begins booting into Internet Recovery.


Step Two
When prompted, select your Wi-Fi network from the list of available networks and enter its access password.


Step Three
Choose Disk Utility from the Mac OS X Utilities screen.
Step Four
Select your new drive from the list of devices on the left.
Step Five
Choose the number of partitions you'd like for the device from the Partition layout dropdown, name the partition, and ensure its format is Mac OS Extended (Journaled). We'll create '1 Partition' with the name Macintosh SSD.
Step Six
Click the Options button and make sure GUID Partition Table is selected then click the OK button.
Step Seven
Click the Apply button then click the Partition button to confirm you want to partition the drive.
Step Eight
Select Quit Disk Utility from the Disk Utility menu at the top left corner of the display.
Step Nine
Choose Reinstall Mac OS X from the Mac OS X Utilities menu.
Step Ten
Click Continue to launch the installation wizard.
You'll be notified that Apple will verify your eligibility to download and restore Mac OS X. Click Continue.
Step Eleven
Agree to the software licensing agreement.
Step Twelve
Select your new hard drive and click Install.
Step Thirteen
Your computer will now download Mac OS X and install it. Note that only the version of OS X your computer shipped with will be installed at this time. To get to the latest version of macOS you will update using the Mac App Store.

