These are instructions on how to create an email signature and add your logo to an email in OS X Mail.
Step One
Launch Mail from your Dock.


Step Two
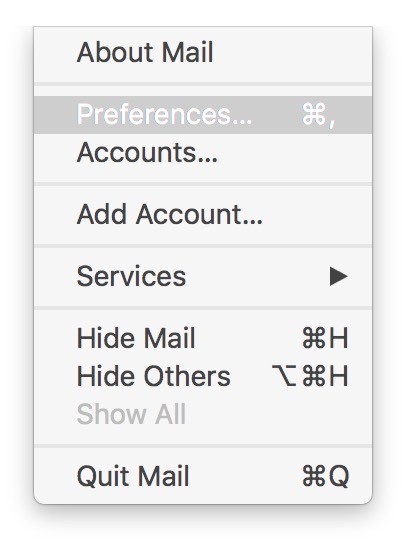
Select Preferences from the Mail menu at the top left.


Step Three
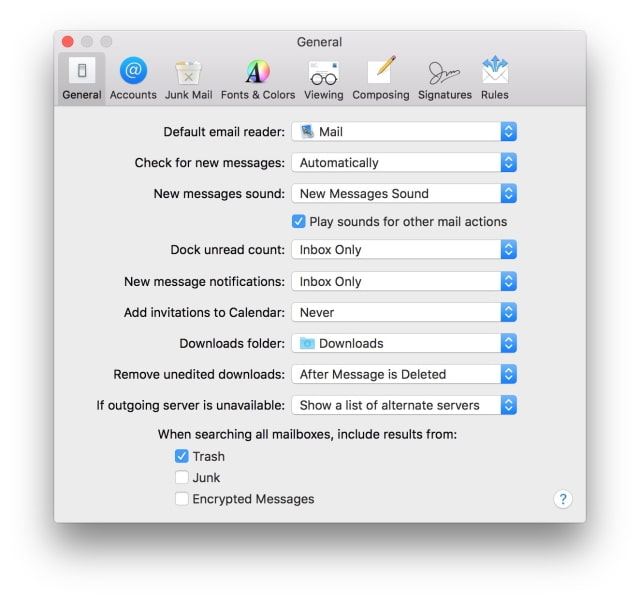
Select the Signatures tab at the top of the Preferences window.


Step Four
Choose the email address you would like to create a signature for from the left side of the Signatures window.
Click the + button to add a signature.
Give your new signature a name
Enter the text you would like to include as part of your signature (name, email, phone number, website, etc) in the textfield on the right side of the window.
Step Five
Locate the image or logo file you would like to include as part of your signature in a Finder window.
Drag the image into the signature
Step Six
You may need to resize your image or logo to an appropriate size for an email message using Preview or another image editor. A width of about 150-200 pixels would work.
Step Seven
You can use the Choose Signature dropdown at the bottom of the window to have Mail add your signature to a new message by default.
Step Eight
Close the Preferences window and compose a new mail message. Notice your signature with logo is now automatically added!
Step One
Launch Mail from your Dock.


Step Two
Select Preferences from the Mail menu at the top left.


Step Three
Select the Signatures tab at the top of the Preferences window.


Step Four
Choose the email address you would like to create a signature for from the left side of the Signatures window.
Click the + button to add a signature.
Give your new signature a name
Enter the text you would like to include as part of your signature (name, email, phone number, website, etc) in the textfield on the right side of the window.
Step Five
Locate the image or logo file you would like to include as part of your signature in a Finder window.
Drag the image into the signature
Step Six
You may need to resize your image or logo to an appropriate size for an email message using Preview or another image editor. A width of about 150-200 pixels would work.
Step Seven
You can use the Choose Signature dropdown at the bottom of the window to have Mail add your signature to a new message by default.
Step Eight
Close the Preferences window and compose a new mail message. Notice your signature with logo is now automatically added!

