These are instructions on how to make a bootable OS X El Capitan USB key.
Step One
Connect a 8GB or larger USB key to your computer then launch the Mac App Store from your dock.


Step Two
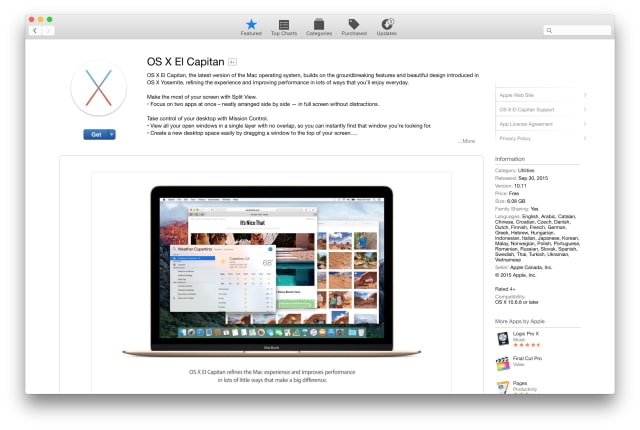
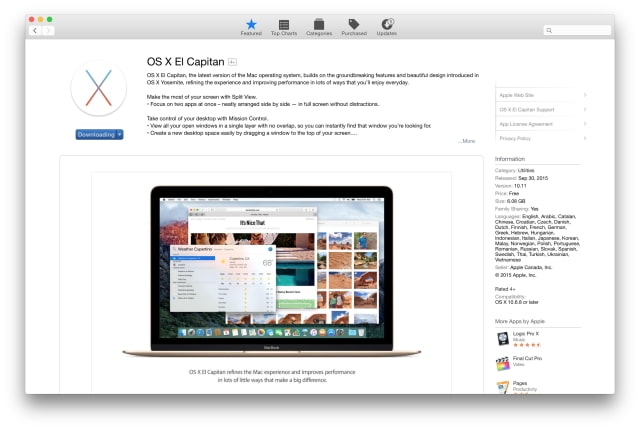
Navigate to the OS X El Capitan application page and click the Get button. If you are already on, or have already downloaded El Capitan, you may need to click the Download button.


Step Three
Launch Disk Utility from the Applications:Utilities folder.
Step Four
Select your USB thumb drive from the list on the left and click the Partition tab.
Step Five
Set the Partition Layout to 1 Partition, set the Name to 'El Capitan', and set the Format to Mac OS Extended (Journaled).
Step Six
Click the Options button then choose GUID Partition Table from the popup window then click the OK button.
Step Seven
Next click the Apply button to save your changes. When asked to confirm click the Partition button.
Step Eight
Launch Terminal from the Applications:Utilities folder.
Step Nine
Make sure your empty USB key is still inserted. Additionally, make sure you do not have any other volumes named 'El Capitan' except for the one we just created in Step Five.
Execute the following command in the Terminal window to create your OS X El Capitan Install key.
sudo '/Applications/Install OS X El Capitan.app/Contents/Resources/createinstallmedia' --volume '/Volumes/El Capitan' --applicationpath '/Applications/Install OS X El Capitan.app' --nointeraction
You will be asked to enter your Administrative account password.
Step Ten
After about 30 minutes the creation of your USB Install Key for OS X El Capitan will be complete.
Step Eleven
You may now restart your Mac and hold down the Option key after hearing the boot sound. You'll be presented with a list of bootable drives. Select the USB install key.
Step One
Connect a 8GB or larger USB key to your computer then launch the Mac App Store from your dock.


Step Two
Navigate to the OS X El Capitan application page and click the Get button. If you are already on, or have already downloaded El Capitan, you may need to click the Download button.


Step Three
Launch Disk Utility from the Applications:Utilities folder.
Step Four
Select your USB thumb drive from the list on the left and click the Partition tab.
Step Five
Set the Partition Layout to 1 Partition, set the Name to 'El Capitan', and set the Format to Mac OS Extended (Journaled).
Step Six
Click the Options button then choose GUID Partition Table from the popup window then click the OK button.
Step Seven
Next click the Apply button to save your changes. When asked to confirm click the Partition button.
Step Eight
Launch Terminal from the Applications:Utilities folder.
Step Nine
Make sure your empty USB key is still inserted. Additionally, make sure you do not have any other volumes named 'El Capitan' except for the one we just created in Step Five.
Execute the following command in the Terminal window to create your OS X El Capitan Install key.
sudo '/Applications/Install OS X El Capitan.app/Contents/Resources/createinstallmedia' --volume '/Volumes/El Capitan' --applicationpath '/Applications/Install OS X El Capitan.app' --nointeraction
You will be asked to enter your Administrative account password.
Step Ten
After about 30 minutes the creation of your USB Install Key for OS X El Capitan will be complete.
Step Eleven
You may now restart your Mac and hold down the Option key after hearing the boot sound. You'll be presented with a list of bootable drives. Select the USB install key.

