These are instructions on how to clear/flush your DNS Cache in Mac OS X. While this is very simple to do we get asked how a lot. You may need to do this after making changes to your hosts file.
LEOPARD AND SNOW LEOPARD
Step One
Launch Terminal from your Applications:Utilities folder.


Step Two
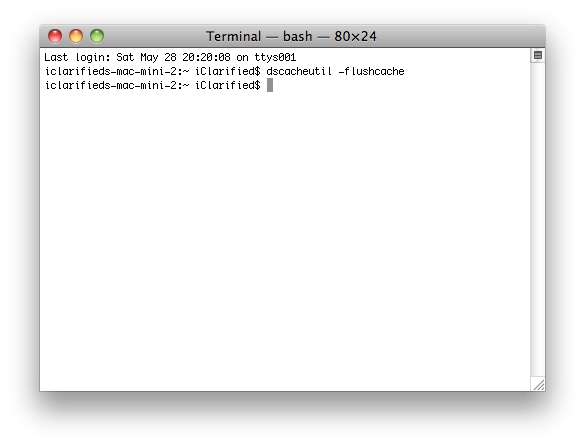
Enter dscacheutil -flushcache into the Terminal window that appears and press the Enter key.


TIGER
Step One
Launch Terminal from you Application:Utilities folder.


Step Two
Enter lookupd -flushcache into the Terminal window that appears and press the Enter key.
BONUS: WINDOWS
Step One
Press the Windows and R key then input cmd and click OK to launch the Command Prompt.
Step Two
Enter ipconfig /flushdns into the Command Prompt window that appears and press the Enter key.
LEOPARD AND SNOW LEOPARD
Step One
Launch Terminal from your Applications:Utilities folder.


Step Two
Enter dscacheutil -flushcache into the Terminal window that appears and press the Enter key.


TIGER
Step One
Launch Terminal from you Application:Utilities folder.


Step Two
Enter lookupd -flushcache into the Terminal window that appears and press the Enter key.
BONUS: WINDOWS
Step One
Press the Windows and R key then input cmd and click OK to launch the Command Prompt.
Step Two
Enter ipconfig /flushdns into the Command Prompt window that appears and press the Enter key.

